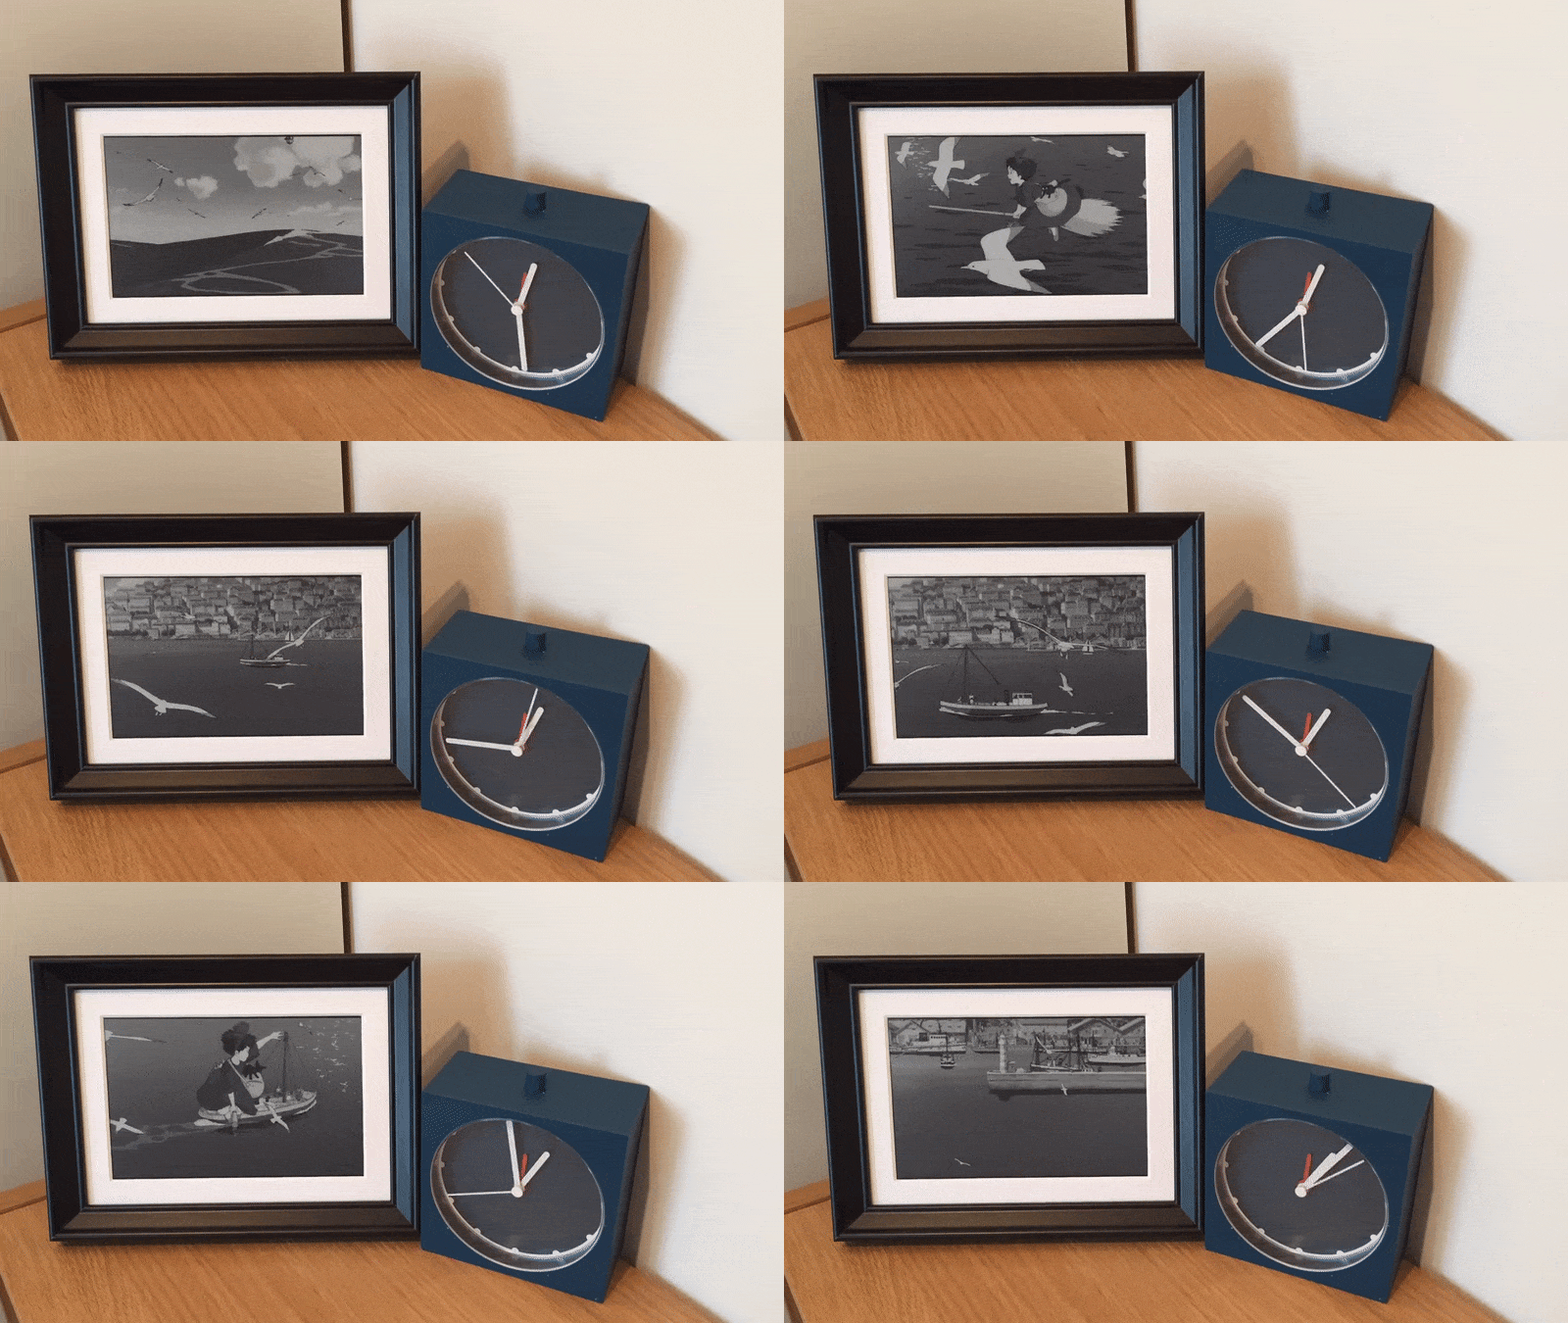
Inspired by Bryan Boyer and Tom Whitwell, I am building a Very Slow Movie Player (VSMP).

With VSMP,
- Kiki’s Delivery Service (running time 1h42m): takes 7 days to play (with 1 frame per 20 seconds, as in above demo)
- Laputa: Castle in the Sky (running time 2h4m): takes 2 months to play (with 1 frame per 120 seconds, as default setting)
1. Hardware
- Raspberry Pi Zero WH (Zero W with Headers)
- Waveshare e-paper 7.5 inch with Hat
- IKEA Photo Frame
All can be assembled together easily.
Front view

Zoom in details

The back

2. Installation
2.1 Raspberry Pi Zero
Install standard Raspberry OS. I am using the 32bit bulleyes with desktop version, but someone suggested to use lite version for Raspberry Pi Zero. Read more here.
For install pi with headless wifi, read how-to here.
1 | touch /Volumes/boot/ssh |
Content of wpa_supplicant.conf
1 | country=US |
Note: It is a good practice to disable the default user “Pi”, but VSMP installation script from Tom Whitwell is using hard-coded “Pi” home path, so to keep it simple, keep “Pi” user but DEFINITELY update the default password. I also run it in a guest wifi that it has no access to rest of my network devices.
2.2 Install VSMP files
There are many implementations of VSMP:
- https://github.com/TomWhitwell/SlowMovie (I am using this one, works with my e-paper by default)
- https://github.com/robweber/vsmp-plus (This one provides nice web interface for controlling, but it crashes all the time in my setup)
- https://github.com/rec0de/vsmp-zero (For e-paper 7.8inch, 1872×1404 resolution, with embedded controller IT8951, communicating via USB/SPI/I80 interface)
Note: You can test your e-ink by running omni-epd-test. In my case, I do the following
1 | omni-epd-test -e waveshare_epd.epd7in5_V2 |
The omni-epd is a part of the installation.
3. Prepare the movie
3.1 If you need convert mkv to mp4
1 | # assume you have ffmpeg installed on your mac |
Read more examples at here.
3.2 Remove sound track for reducing the file size
1 | # assume you have ffmpeg installed on your mac |
Read more about “-an” parameter at here.
3.3 Copy files to Pi
1 | # from movie folder |
4. Play
4.1 VSMP as a service
By default VSMP is enabled as a service.
Edit the slowmovie.conf file to specify parameters such as video locations and start frame
1 | # Edit the config file |
4.2 Manually run
If you want to manually run command, REMEMBER to disable the service.
If you run it manually, considering use tmux to ensure the session continues after you log off.
Example:
1 | # Stop services |
5. Bonus content
5.1 What to play
Wondering what to play? Read Content reviews: What makes a good slow movie. I am a big fan of Studio Ghibli so that is my choice.
Also you might want to re-encode the videos as here.
5.2 Shoot a video for your VSMP
You can use iphone time-lapse to record your VSMP to see how it works. However, iphone time-lapse will sometimes capture some e-paper refresh, when the screen is all white or black. To remove these bad frames from your video, do following (ref #1, #2)
1 | # extract all frames from iphone time-lapse video |
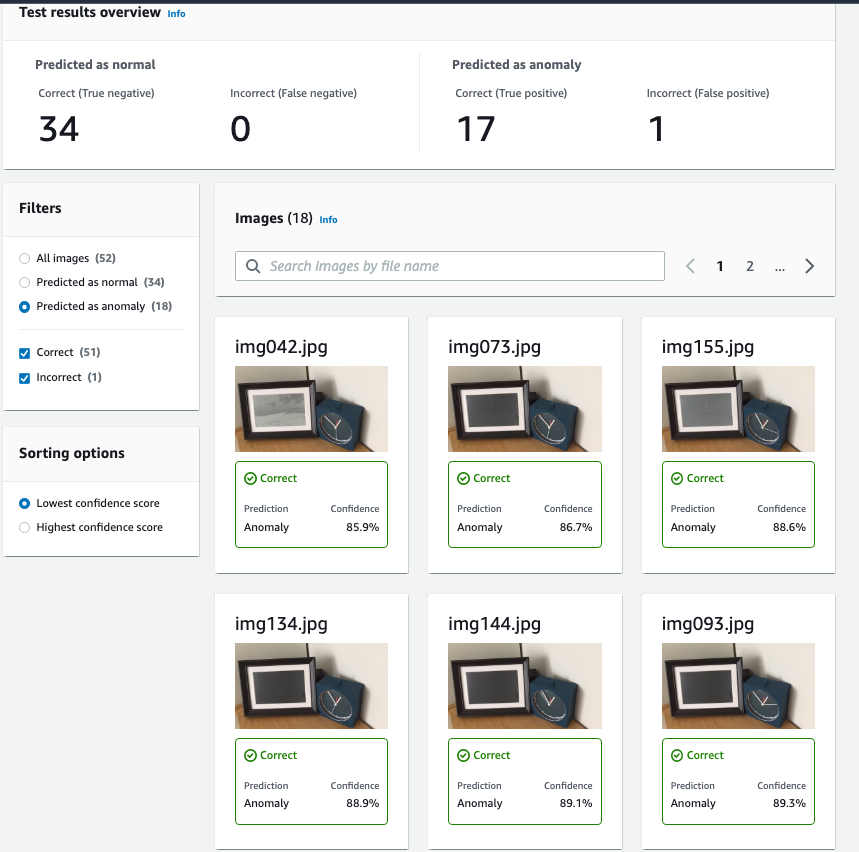
Example of using Amazon Lookout for Vision for detecting bad frames, but that is another story.
