I have been looking at IOTA since last winter, as it seems promising for IoT, Machine-to-Machine Micro-payments and Data Market scenarios.
Installing an IOTA light wallet is pretty straightforward, but running a full node is not. But thanks to the great playbook, I managed to setup a Virtual Private Server to run as an IOTA full node.
- 2 cores CPU
- 4 GM memory
- SSD
- Hosted 24/7 in a data center in Western Europe
Setup steps
- Followed the steps in playbook
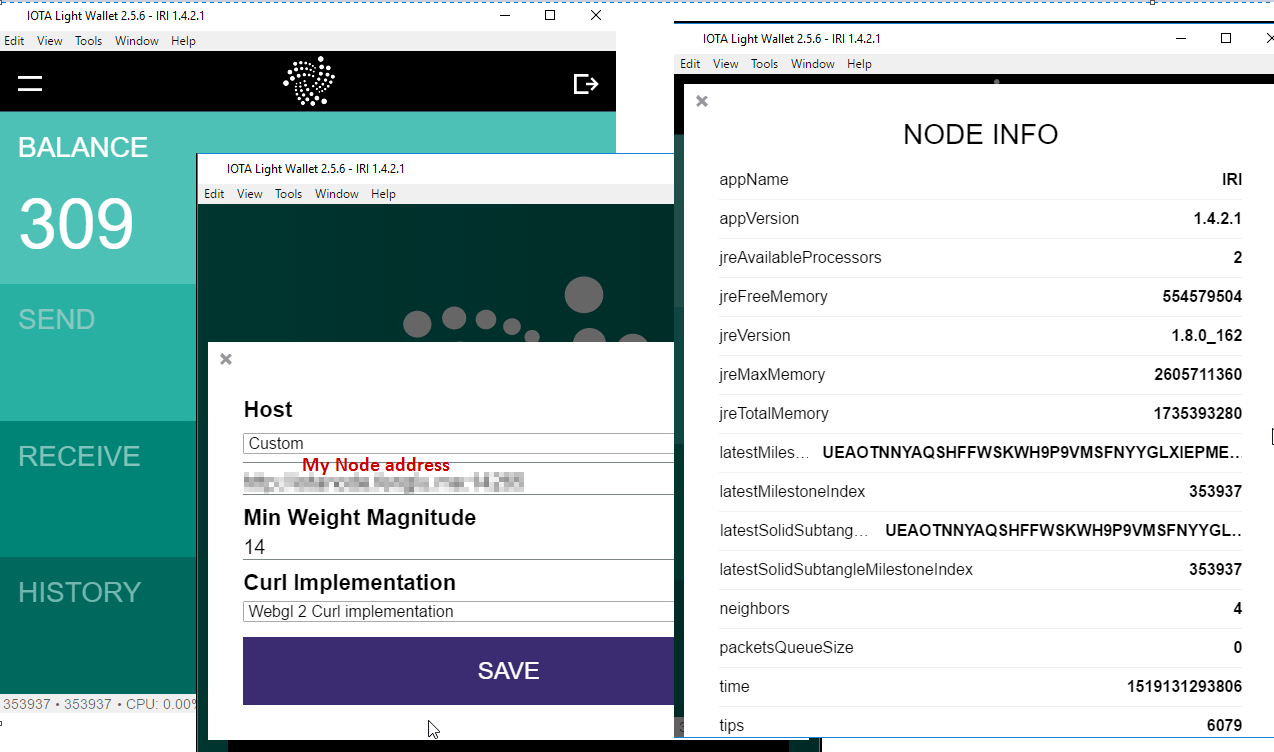
- Enabled remote access for the node, so the light wallet can connect to it.
- Setup firewall rules to allow IOTA node talking to internet
- Setup DNS to make the node more friendly for my neighbors
- Found good neighbors from IOTA Discord #nodesharing channel
Tips: go to #rank-yourself and type “!rank fullnode”, then you’ll get access to the #nodesharing channel
Security!
There are lots of things you need to think about when you are hosting a 24/7 server on the internet. This blog and Security Hardening section provides a good guideline.
- Use SSH key access
- Disable password authentication
- Disable SSH root access
In addition, if you are using the playbook installer , you basically have the default user name and ports for your full node.** IT IS IMPORTANT TO CHANGE THEM!** Otherwise the attacker only need to crack the password, as they already know your user name (iotapm) and your ports.
Update user name and password in bash
1 | nano /opt/iri-playbook/group_vars/all/iotapm.yml |
You can perform the following steps after you completed the installer.
Update nginx user
- Remove the default user iotpm
1 | htpasswd -D /etc/nginx/.htpasswd iotpm |
- Create new user
1 | htpasswd /etc/nginx/.htpasswd new_user_account |
Update system account in grafana
- Stop grafana-server:
1 | systemctl stop grafana-server |
- Delete grafana’s database:
1 | rm -f /var/lib/grafana/grafana.db |
- Edit /etc/grafana/grafana.ini, set correct values for admin_user and admin_password (from above step)
- Start grafana-server:
1 | systemctl start grafana-server |
- re-install grafana by using iric, select “update monitoring”
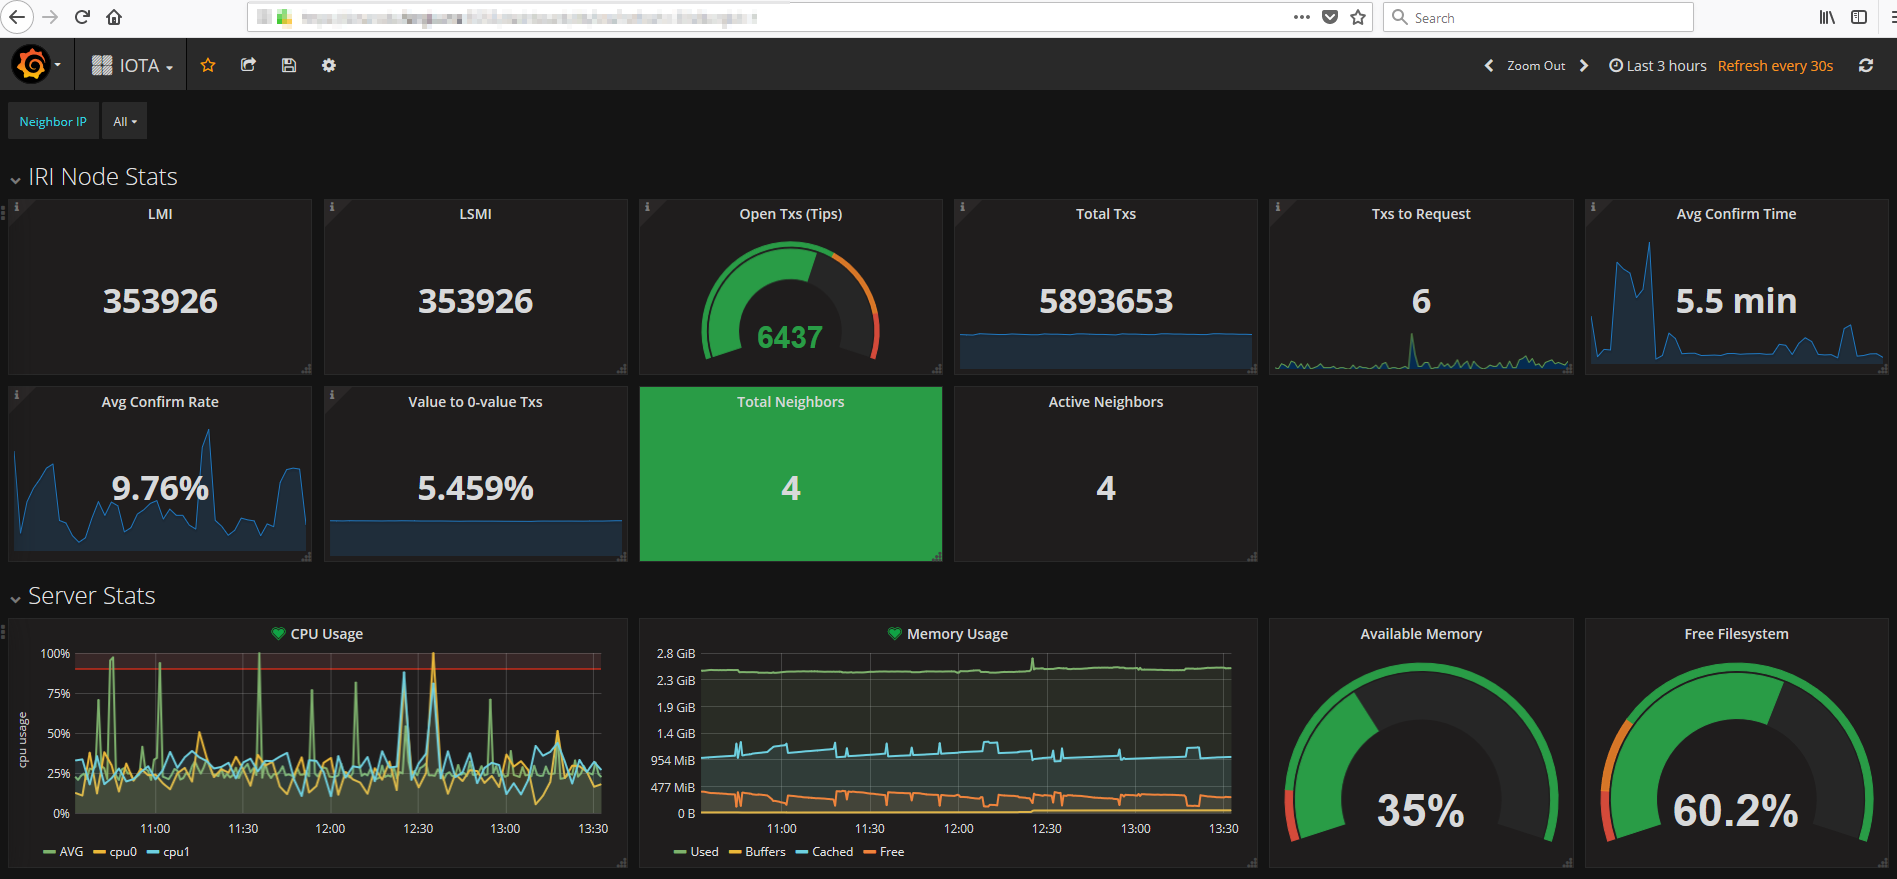
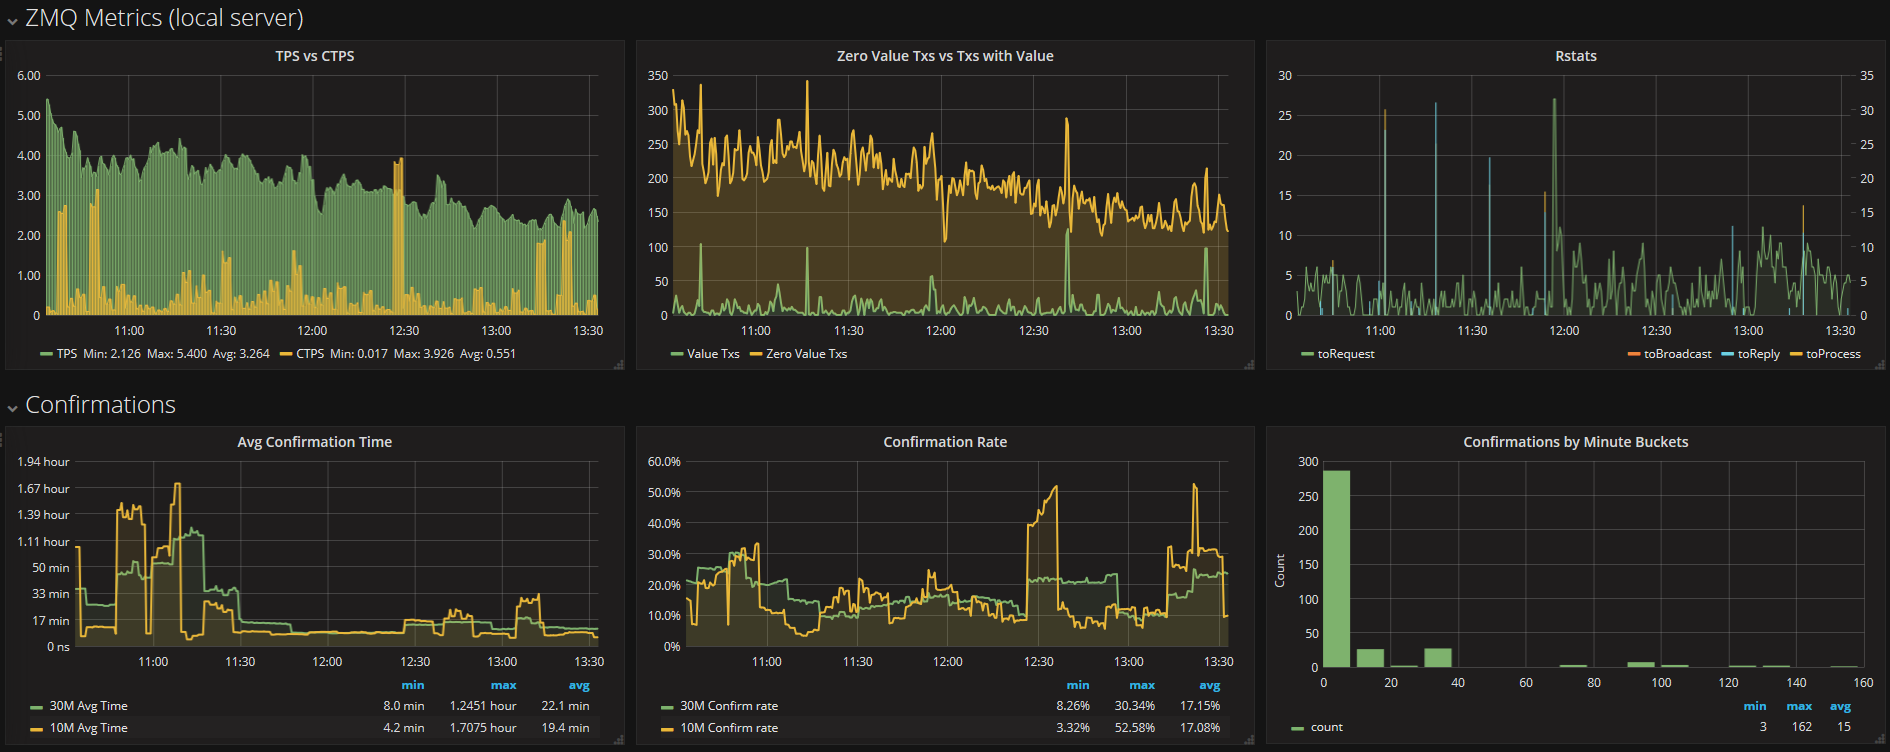
Screenshots
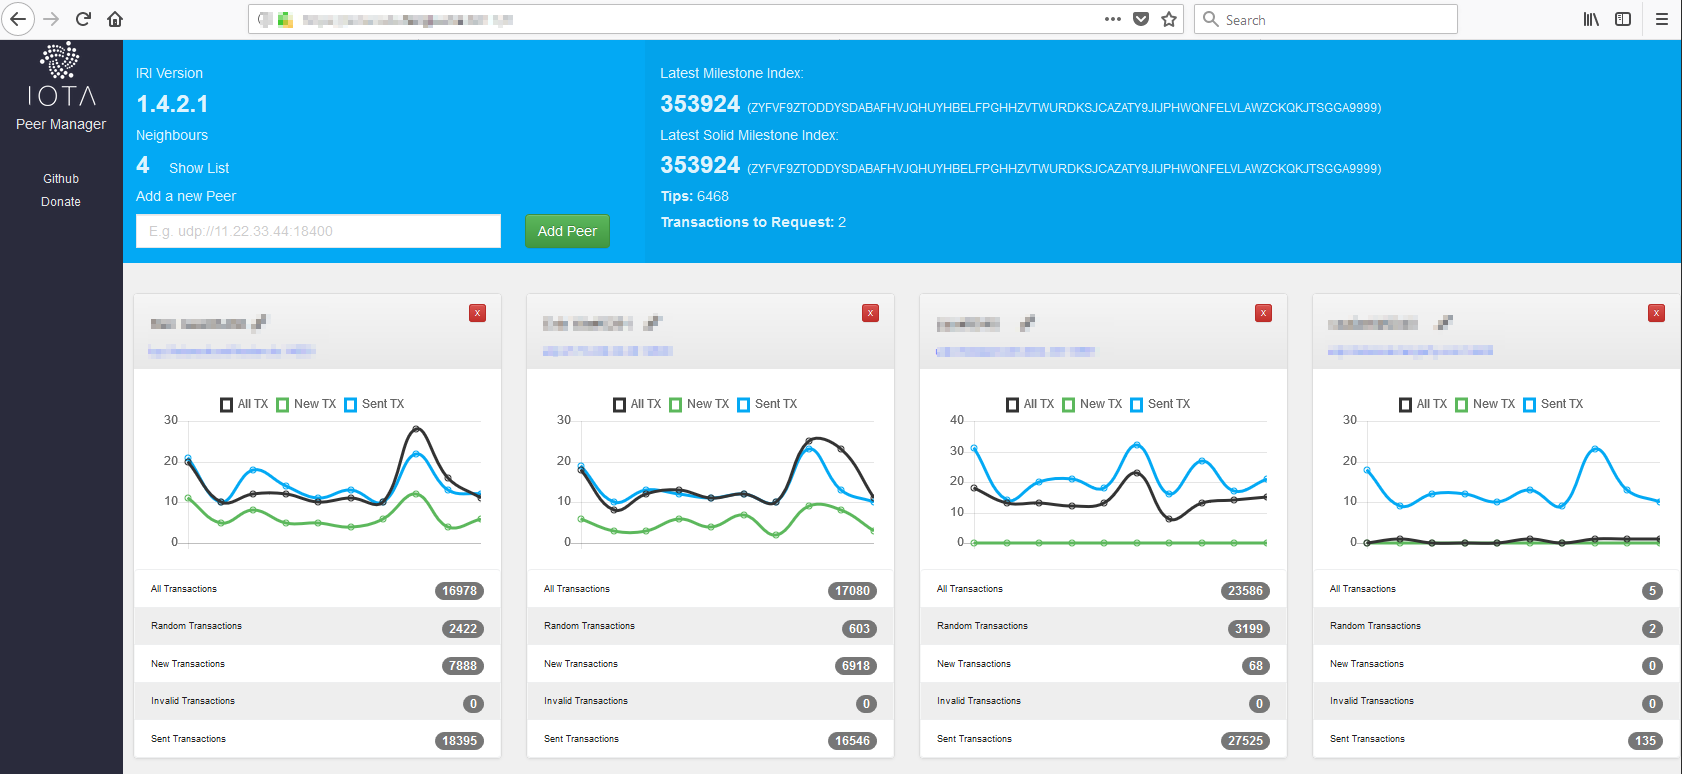
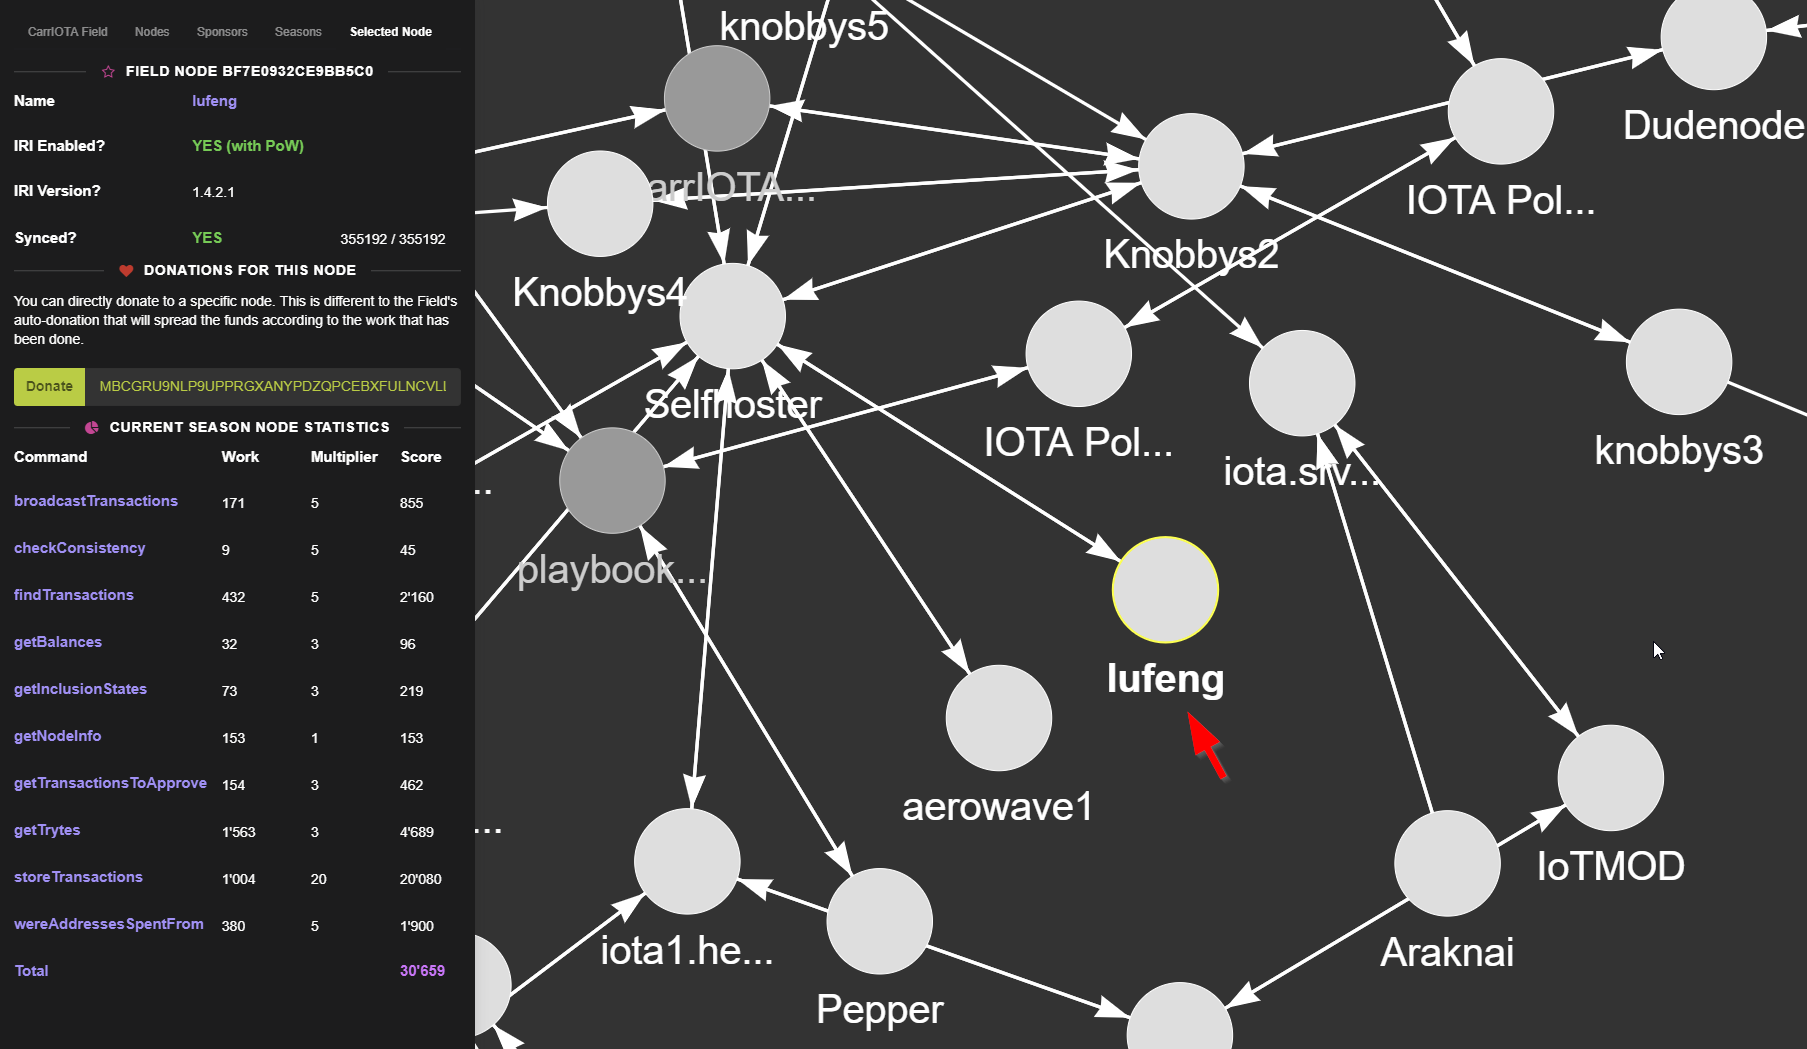
Overview of connected neighbors
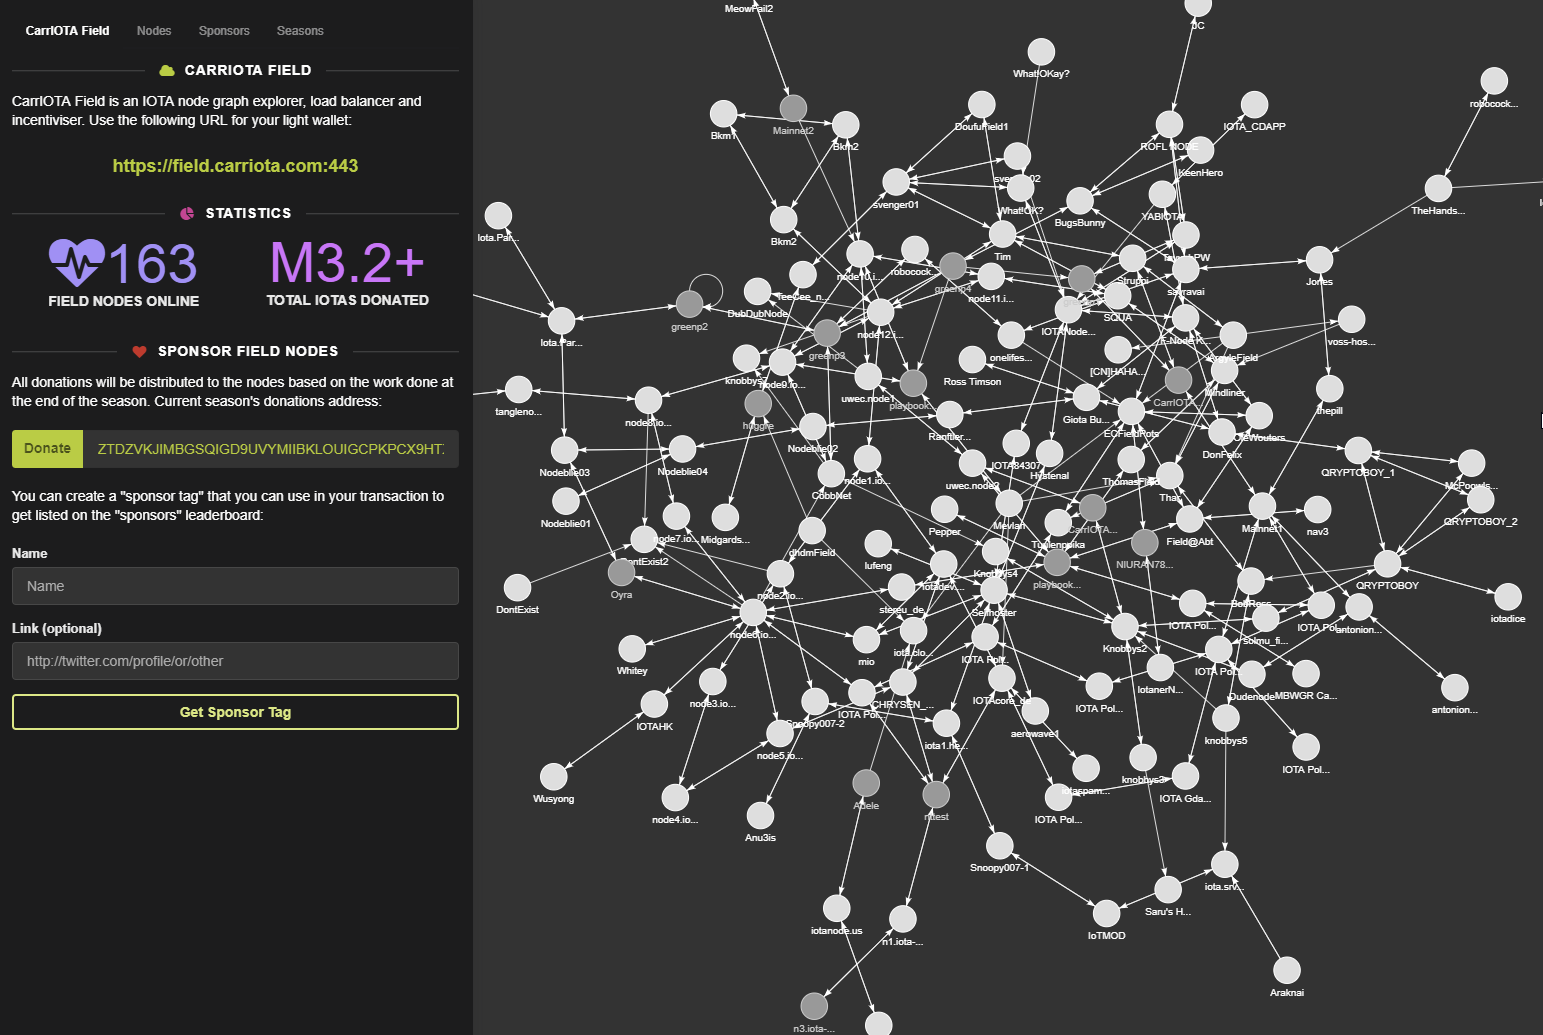
The node in the map: http://field.carriota.com/
Also, connect the wallet to the our node
Build the community
If you are looking for neighbors, or would like to connect your wallet to this node, please feel free to let me know.
If you would like to donate, please use the following address. :)
1 | LPQRSZKJM9IRXHMUYJZQLKMAKJHJQDERJWIPSLKCYAPXVZPGEWG9QDXQUNTXCMZYLLIHPHGULVGFIAZAWDFECWYKGC |
EoF.