Environment Setup
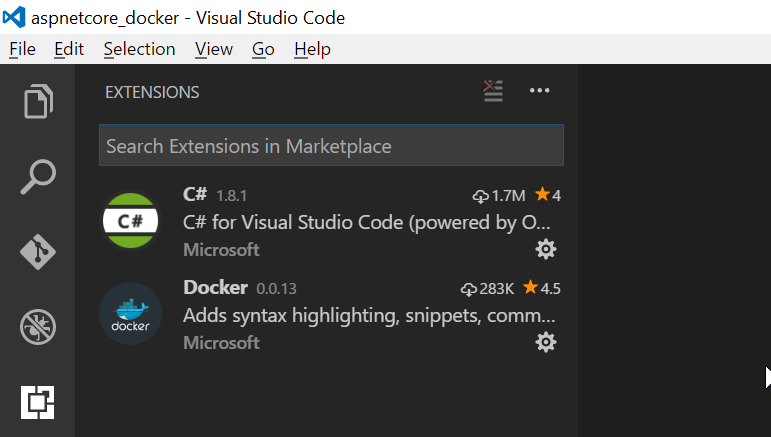
I have a typical developers environment: Windows 10 Enterprise X64 (Version 1511, OS build 10586.839). Installed DotNet Core 1.0.1 and VS Code. In VS Code there are two extension installed.
Enable Hyper-V
VirtualBox is no longer needed! Simply enable the Hyper-V on on Windows 10 by running powershell commands (as Administrator)
1 | Enable-WindowsOptionalFeature -Online -FeatureName Microsoft-Hyper-V -All |
You might need to change the BIOS setting. Read more at here.
Note:
The document from Docker also mentioned that the virtualization must be enabled, and said you can verify it in the Task Manager. However, I can not find “Virtualization” label in my Task Manager. But the following steps work fine anyway.
Install Docker
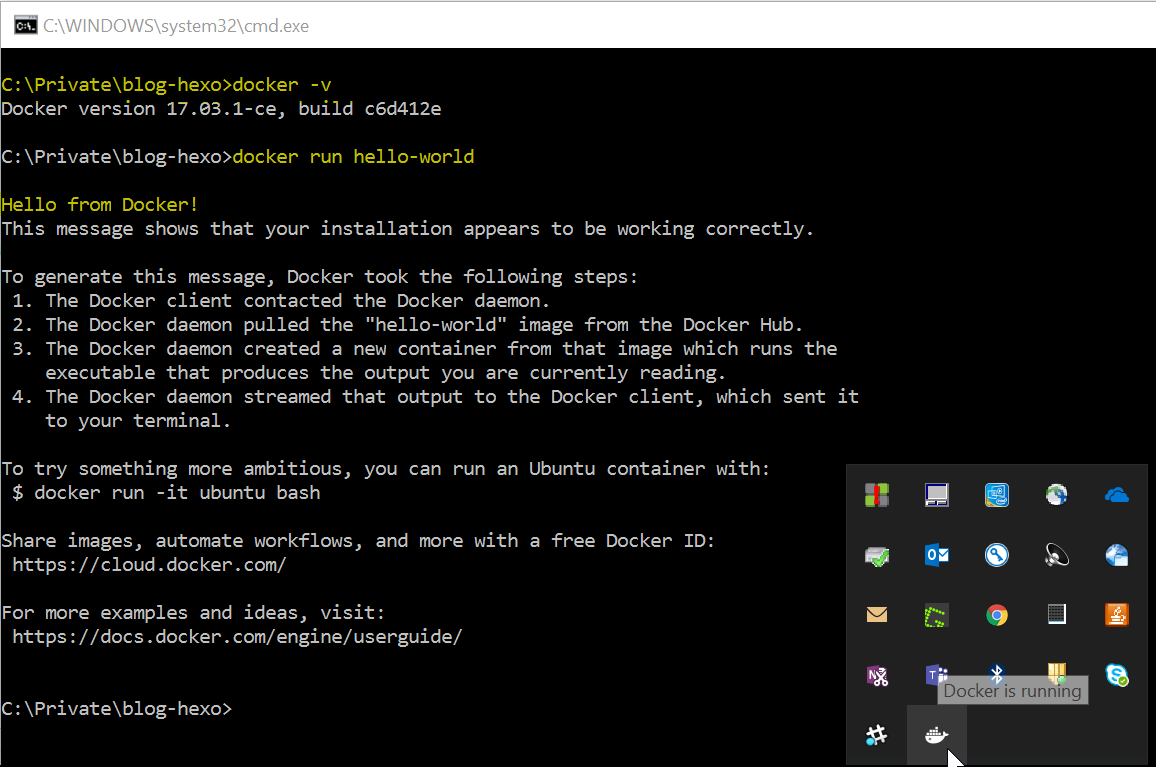
Head to Docker official site, download and install Docker for Windows. The version I installed was 17.03.1-ce, build c6d412e Community Edition, via Edge channel.
Lets verify it.
Build ASP.Net Core Application
With (new version of) dotnet core, you can simply use command line for creating an web application.
1 | C:\Private>md aspnetcore_docker |
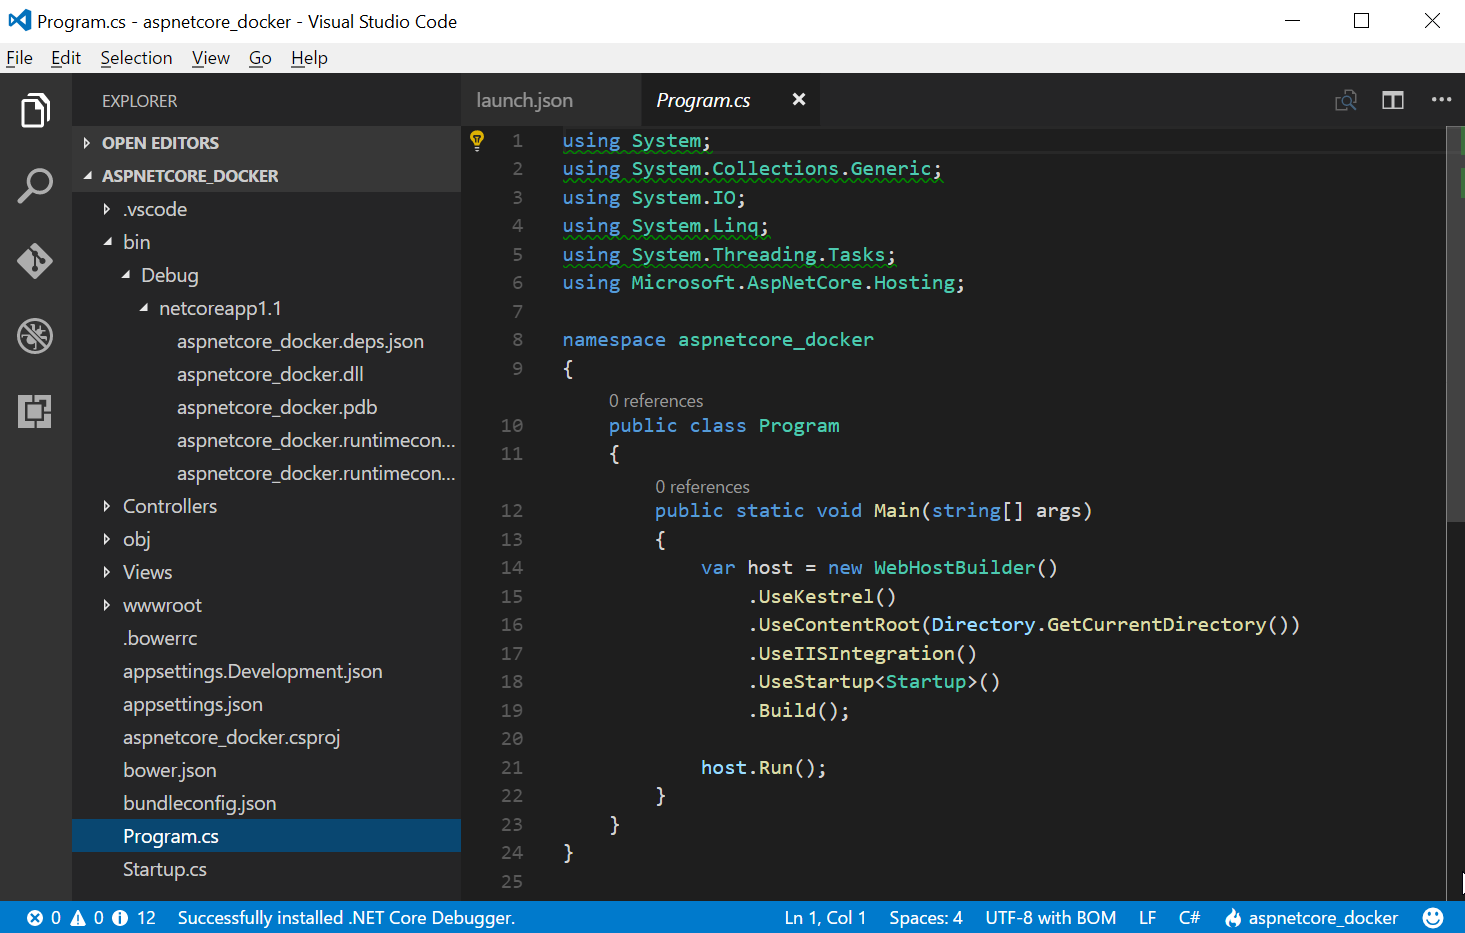
Open this foler with VS Code. If it asked to add “Required assets to build and debug”, click Yes.
Debug and verify
You can F5 to make sure the source code works.
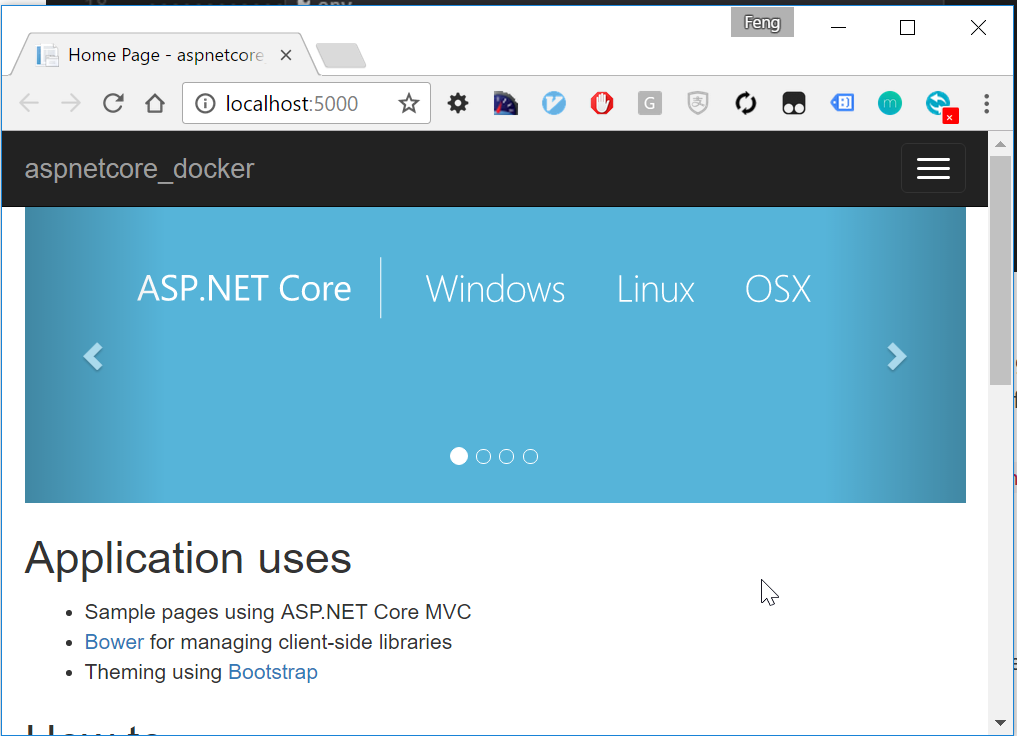
If you saw error as below:

double check your auto-generated .vscode\launch.json file. It should looks like below
1 | { |
Publish
Once you are happy with your app, compile it with Release mode and save the package to “Publish” folder
1 | C:\Private\aspnetcore_docker>dotnet publish -c Release -o Publish |
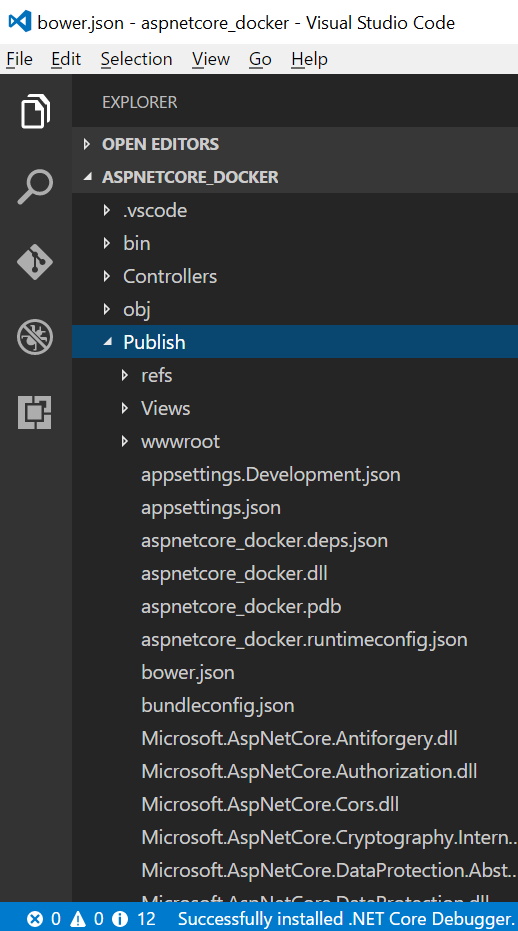
You can also run it without VS code
1 | C:\Private\aspnetcore_docker\Publish>dotnet aspnetcore_docker.dll |
Run the application in Docker
Create the dockerfile
Be familiar with VS Code short-cut “Ctrl+Shift+P” to popup the Command Palette, then start typing “Docker “
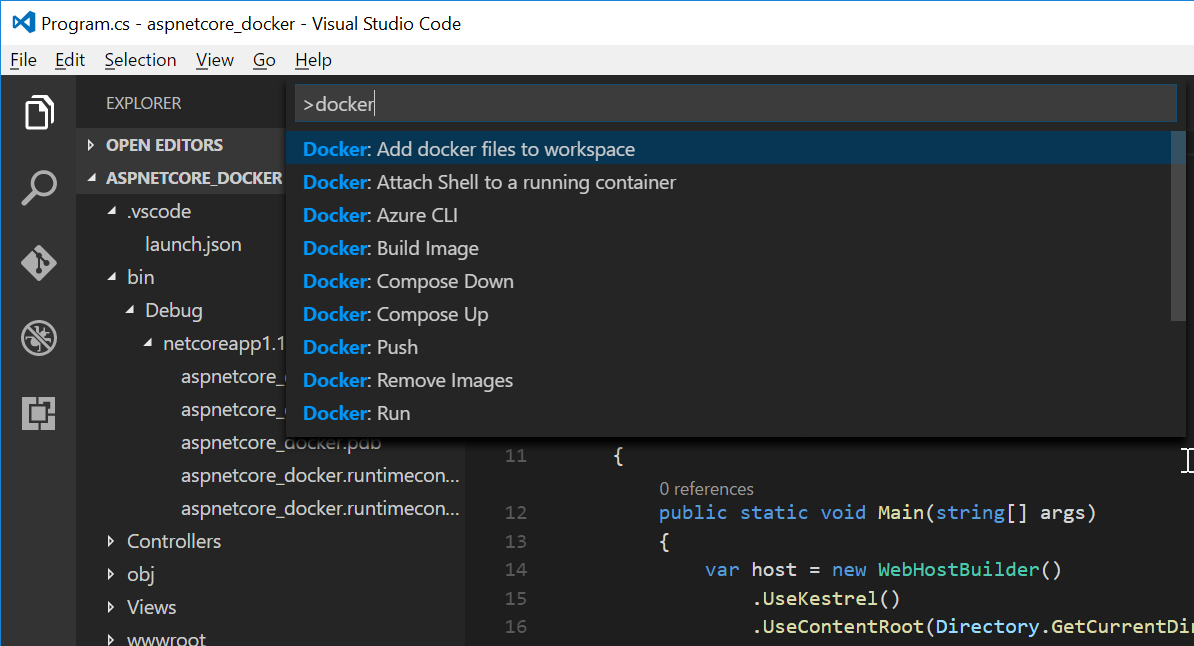
The add dockerfile command will generate 3 files at current root folder:
Dockerfiledocker-compose.ymldocker-compose.debug.yml
Note:
We only need to work with Dockerfile in this case. You can even remove these 2 yml files.
Understand the dockerfile
By default the Dockerfile is like below
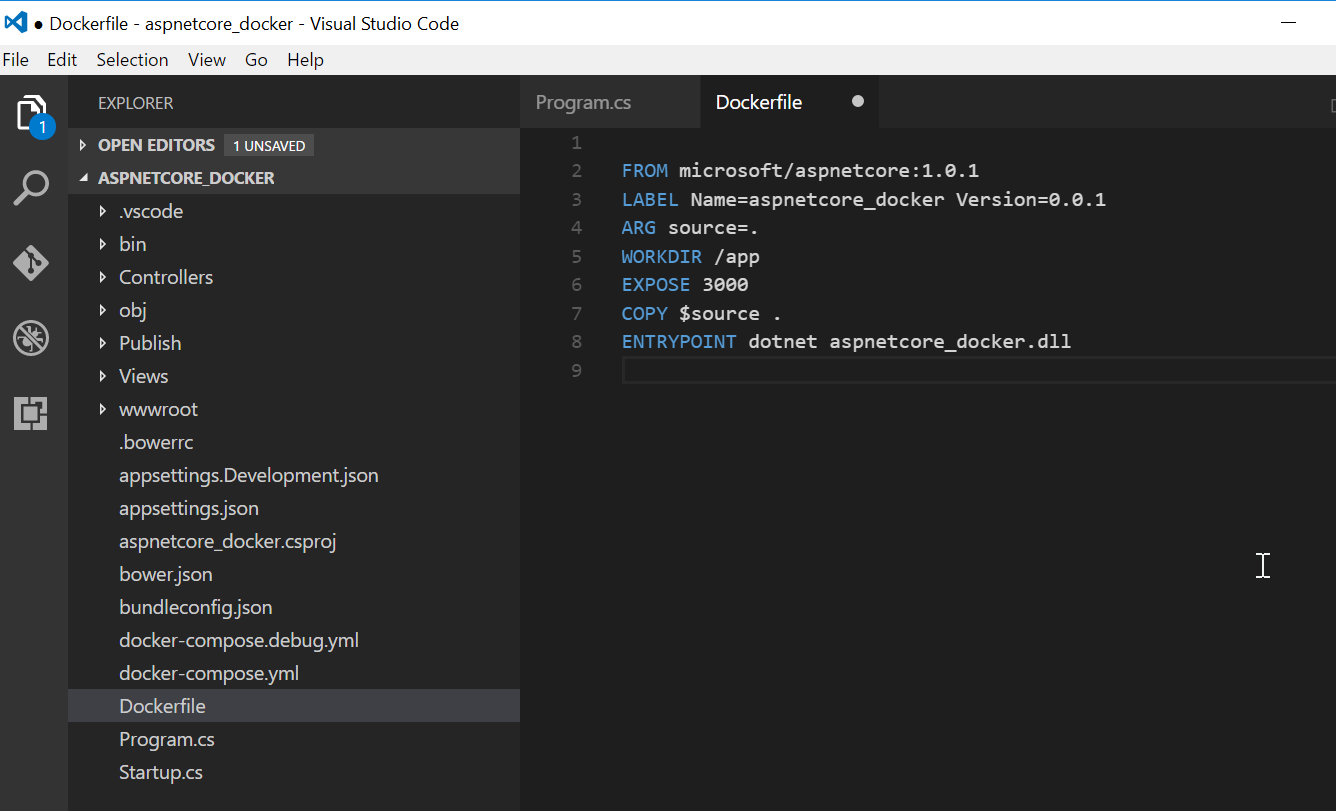
We will change it to:
1 | FROM microsoft/aspnetcore:1.1.1 |
Translate to English, it can be read as
- FROM: This image is based from the “mother image” microsoft/aspnetcore:1.1.1. This image already contains all the dependencies for running .NET Core on Linux, which is prefect for us.
- LABEL: Add metadata to this image.
- ARG: Set an variable named “source”, and its value is “Publish“. It is pointing to the published application binary files on local file system. This folder was created by us in above steps.
- WORKDIR: Set the work directory to “/app“ inside of the container, which is a Linux system.
- EXPOSE: tells Docker to expose port 80 on the container.
- COPY application binary files from “Publish“ folder in local system to the work directory “/app“ in container.
- ENTRYPOINT: Set the command to execute when the container starts up. It is the same way that you run this application locally in Windows 10.
(For detailed document, click here)
Build Docker image
Again Ctrl+Shift+P to build docker image:

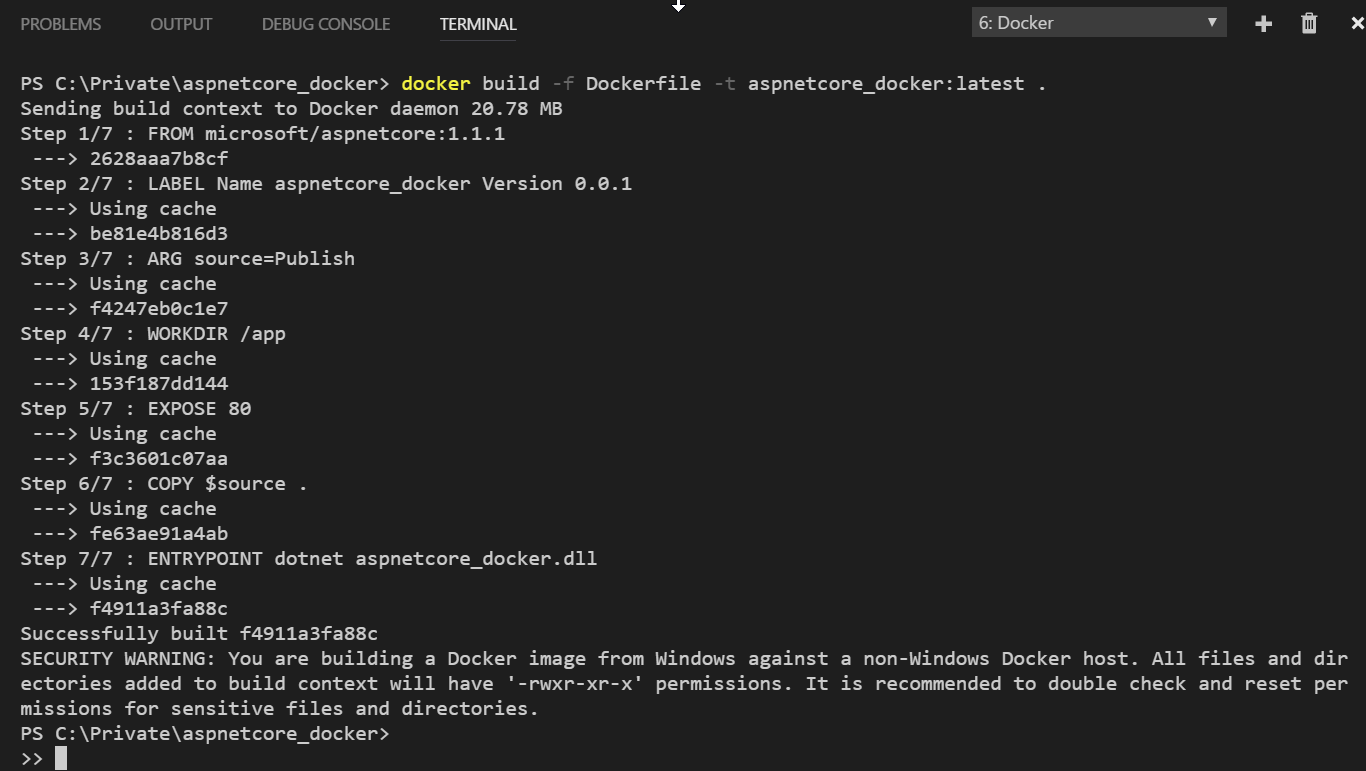
It helps you to write this command (pay attention to the “ .” at the end)
1 | docker build -f Dockerfile -t aspnetcore_docker:latest . |
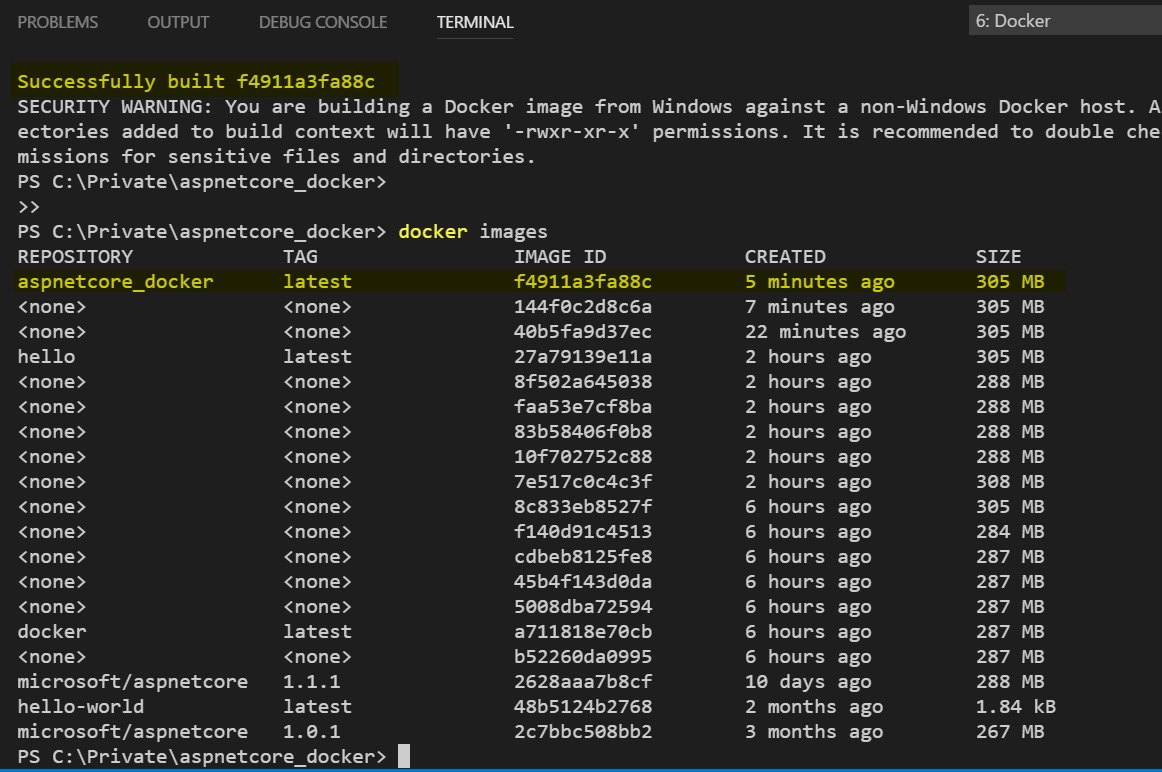
Verfiy that Docker has this image
Run it from Docker!
1 | docker run -d -p 8090:80 -t aspnetcore_docker:latest |
- “-d“: Run container in background and print container ID
- “-p 8090:80“: Map port 8090 on the host machine to port 80 of the container (Port 80 was specified in Dockerfile)
- “-t“: Allocate a pseudo-tty. For interactive processes (like a shell), you must use -i -t together in order to allocate a tty for the container process. -i -t is often written -it.
- “aspnetcore_docker:latest“: Specify the image and version (optional)
Note: Anything before the image name is paramter to docker command. Anything after image name will be considered as arguments to the running container process.It means that you should put -d or -p before image name.

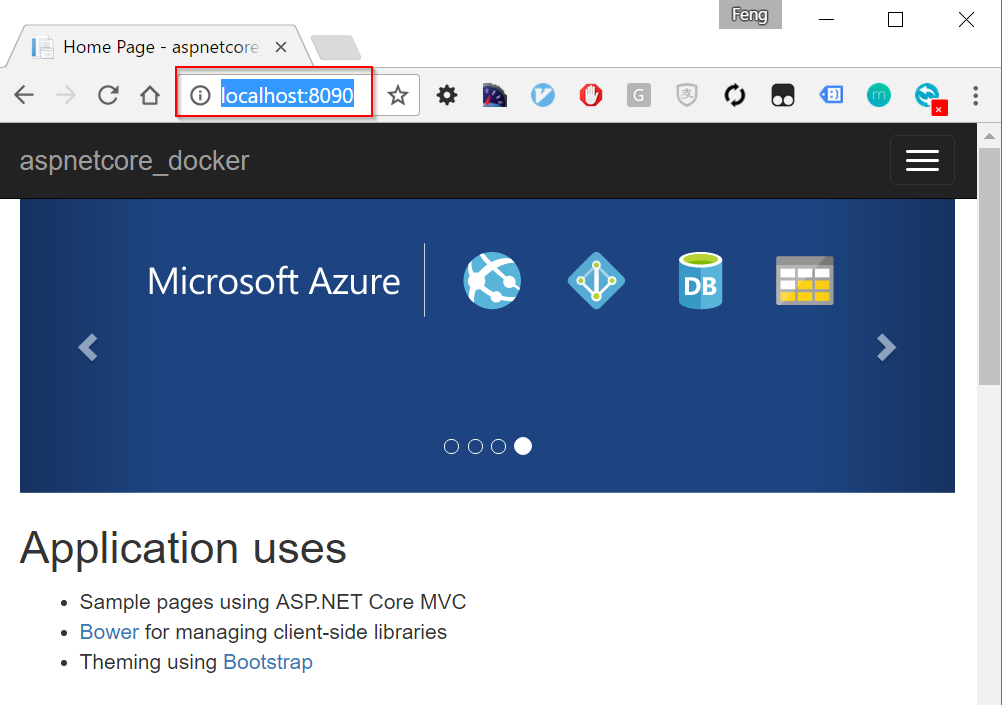
Now you are running ASP.NET Core from Docker
